With my wedding edits up to date I thought I would try wood photo printing. My first impression when I started this project was I very much enjoyed the working process. It reminded me of my days in the dark room, dealing with dust, taking my time, and at moments getting pretty frustrated. The first step for this project was doing a little research and finding out what I needed.
Laser print photo (reversed), I used 8 x 8inch.
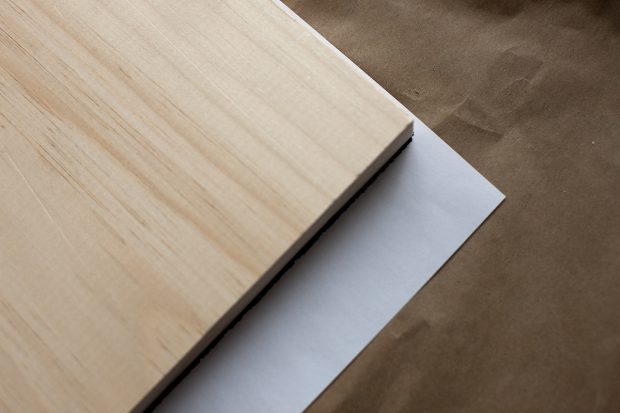
Wood cut to size
Gel Medium
Sand paper to tidy up the edges after cutting
Soft wax or Mod Podge to finish the print
Brush to apply Gel Medium
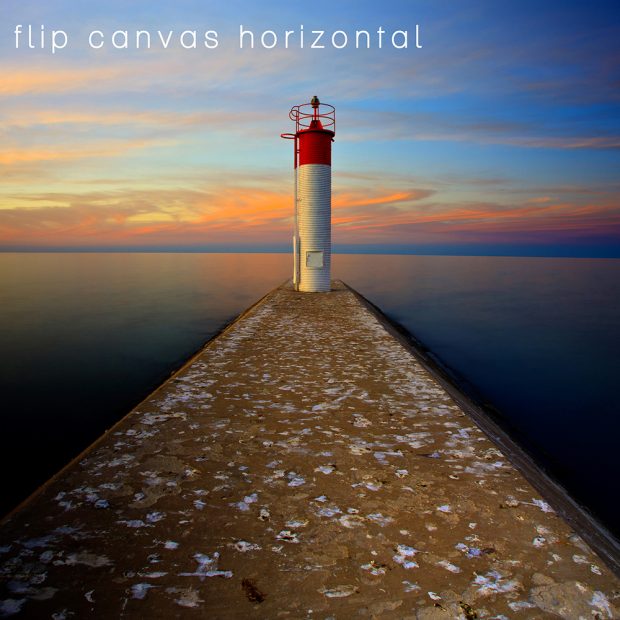
I used Staples for the printing, great quality and inexpensive. Remember to flip the image in photoshop before hand as you will see a mirror image of your photo on the wood. The type of paper is important, the thinner the paper the better. This will be become evident when trying to remove the paper from the wood. You’ll also need Gel Medium, this is a paste used for mixing acrylics to extend the life of paint. I used Liquitex Gel Medium.
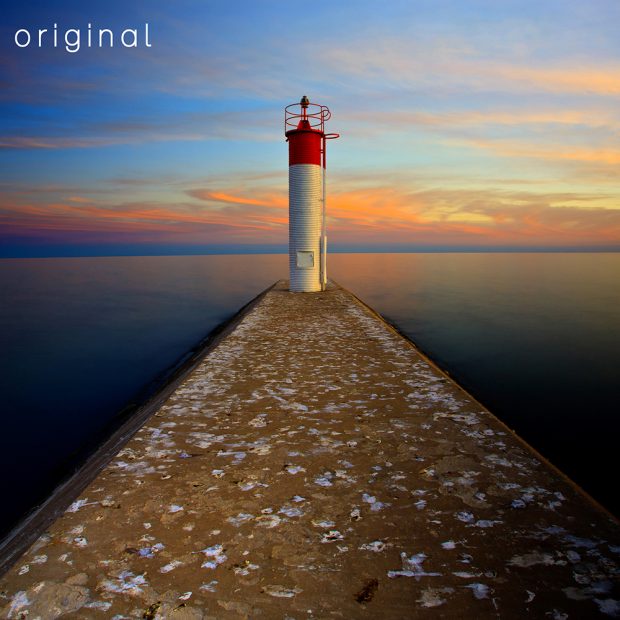
The fist step of this project is to flip your image in photoshop so your finished image will appear as the original image.
You’ll need to cut your wood to the same as your laser print or ask your local hardware store if they can do this for you.

I recommend sanding around the edges of your wood to give it a nice finish, I would do this before hand as you don’t want to risk scratching your finished wood print. You can’t use the clone stamp tool to cover any scratchers or marks! If you do scratch your image you can you use a pencil to hide the scratch before adding a layer of wax or Mod Podge. Or if your really want to cover up the marks you can use paint or ink in a similar way you would spot prints made in the darkroom. It’s been a while but I remember spotting large black and white prints. This is very similar no matter how you hard you try to avoid scratches or marks on the wood you likely have a few spots where the ink didn’t take. I wouldn’t worry too much about dust marks and blemishes as it adds to the hand made style and shows that every print is unique.
Practice Makes Perfect
Go through the motion of laying your wood on your print without the gel medium. A couple of practice trys should help you get a straighter image on your wood. Think of it as laying your wood on the sticky side of sticker. You can also lay your print on the wood, I just prefer this way.

Applying Gel Medium
With practice you will learn different methods of doing this. Try and keep the surface layer nice and thin but not so thin that you can still see the wood. I added two very thin layers of Gel Medium, the first layer I went with the grain of the wood and the second from top to bottom. This worked for me, if you have any other methods please let me know. 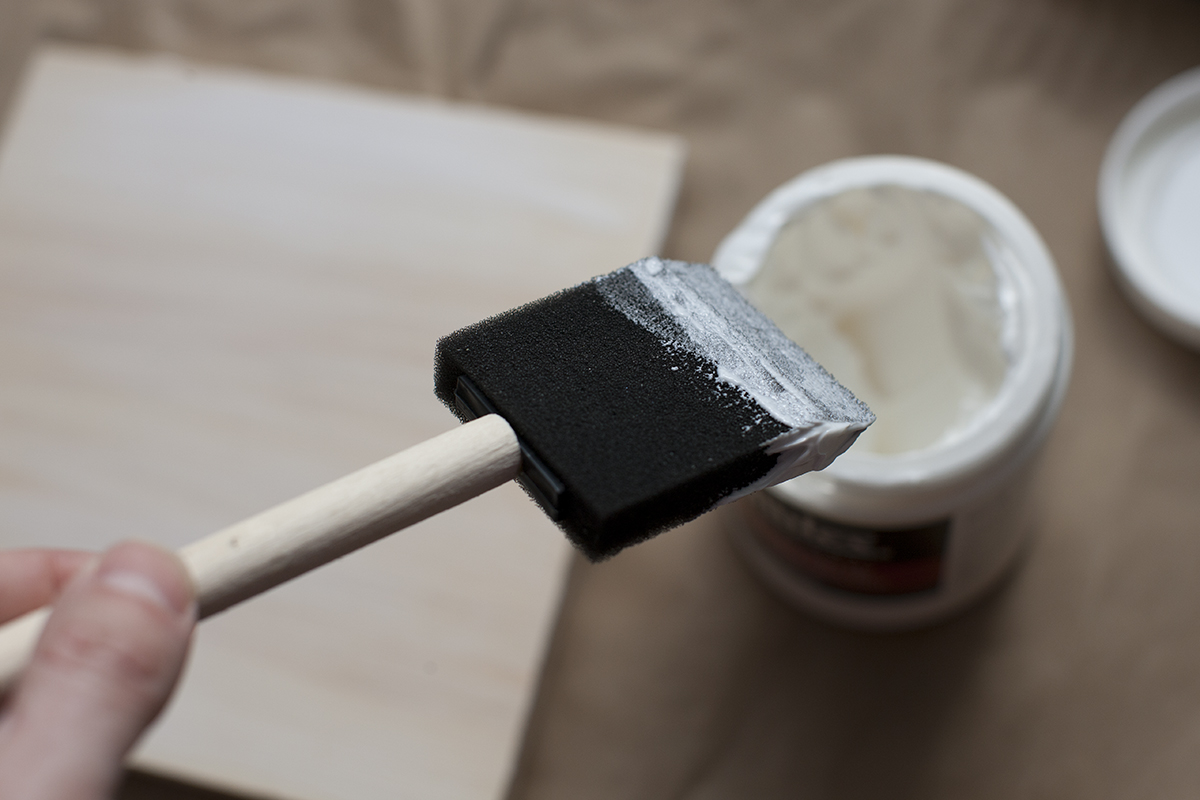

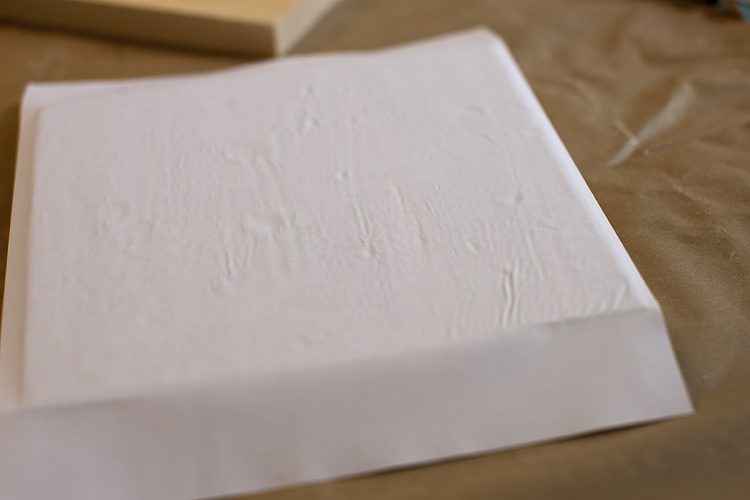
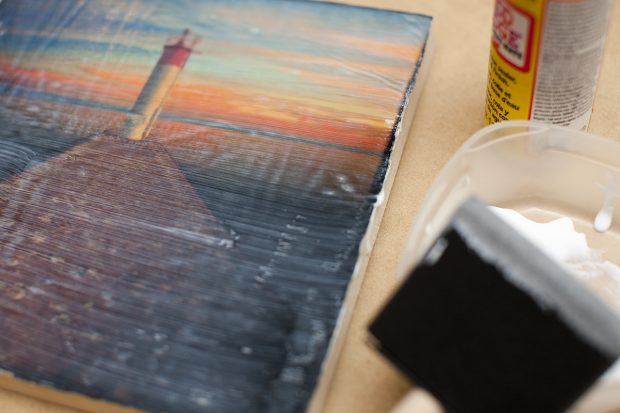
When you have applied your Gel the next step is to lay your wood on your paper or place your paper on the wood. Whatever you feel more skilled at, it can be pretty tricky at first. The key is to try and avoid air bubbles and keep the paper as flat and as even as possible. When your paper is on the wood you can smooth it out using your hand or plastic knife. I used my hand and it seemed to work. The image below shows a few bumps and what look like air bubbles on the paper, don’t panic if you see the same things. The wood print looked fine, with no gaps or spaces on the final image. Leave the print on the wood for at least 8 hours. I left mine overnight.
The Next Day
Now it’s time to remove the paper. It is a lengthy process. It took me at least 20 minutes. You’ll need a wet rag to remove to paper. Dampen the rag and lay it completely over the paper, do this a couple of times until you can see that the paper is wet.
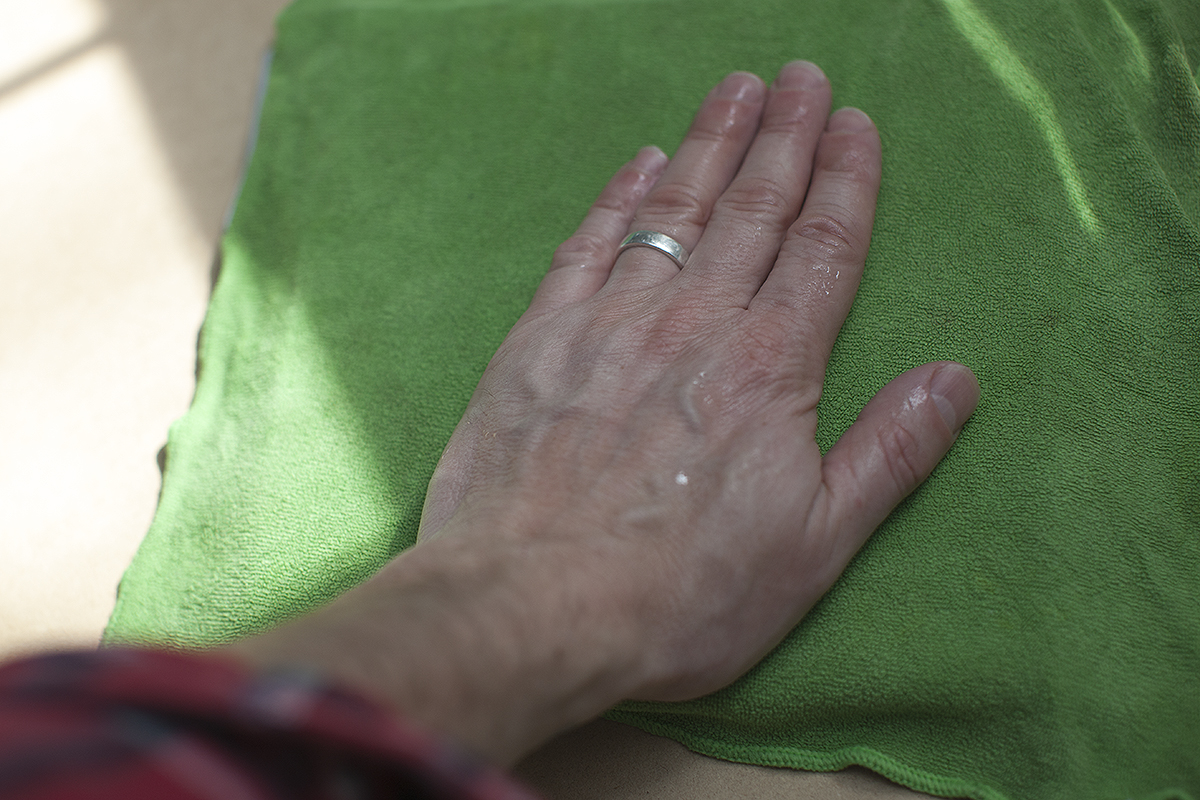
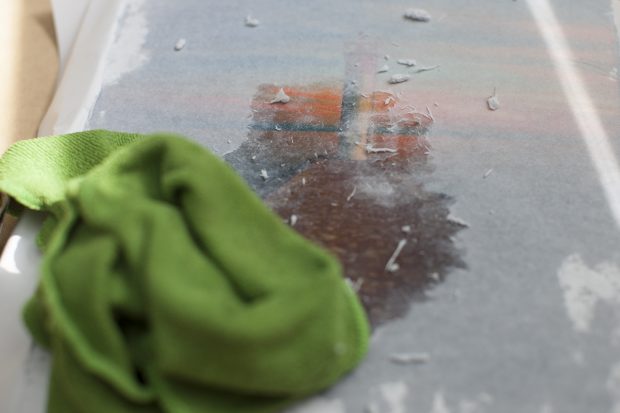
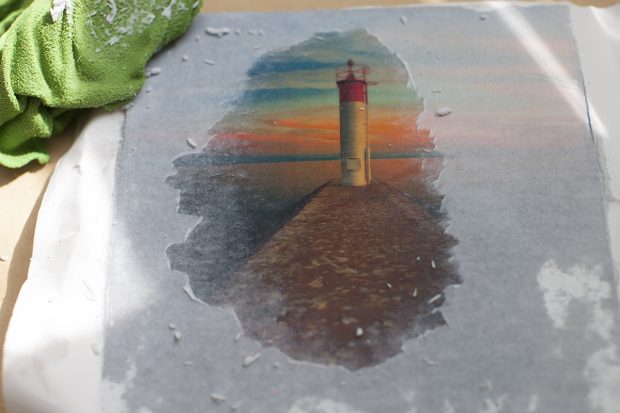
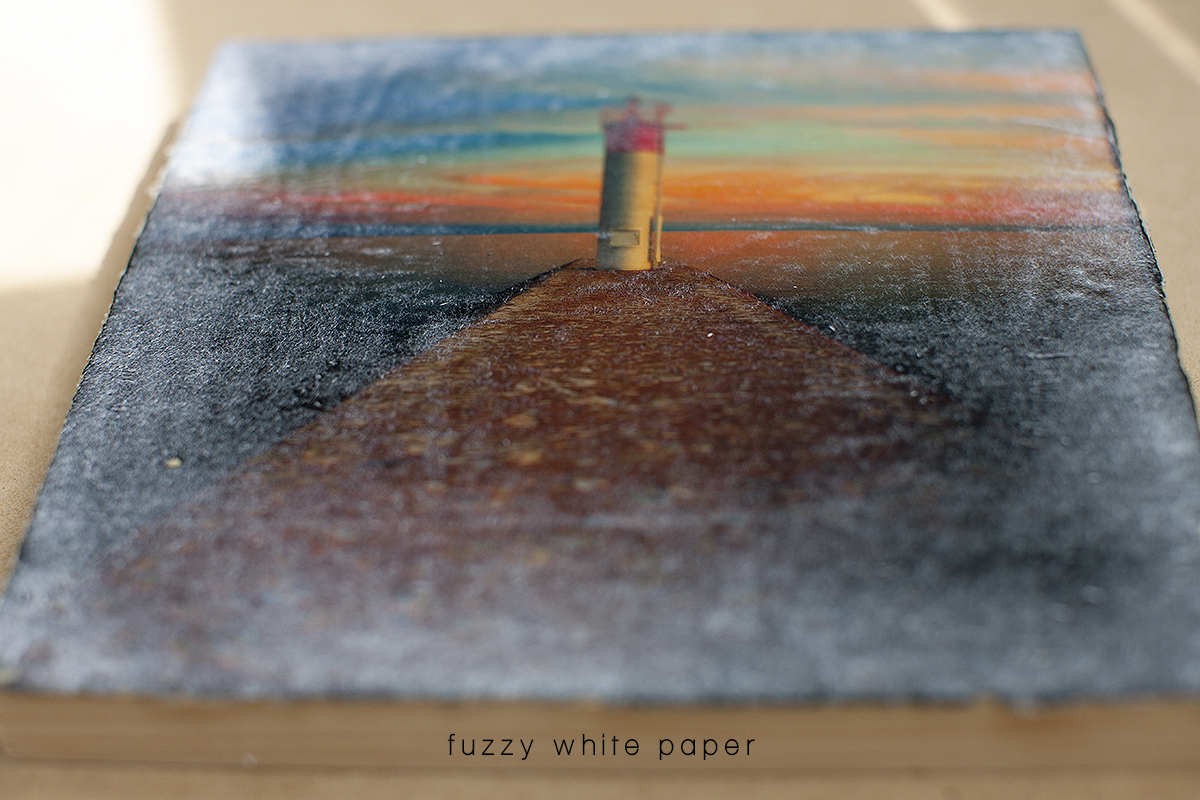
Gently wipe the paper off with the rag until you’ve removed all the paper. Leave it for a few minutes and go back and remove the remaining paper, this can take four or five attempts until you’ve removed all the paper. To remove the fuzzy white paper residue I opted for using wet fingers. Careful not scratch your images with your finger nails. This happened to me on my first go and I wasn’t pleased!!
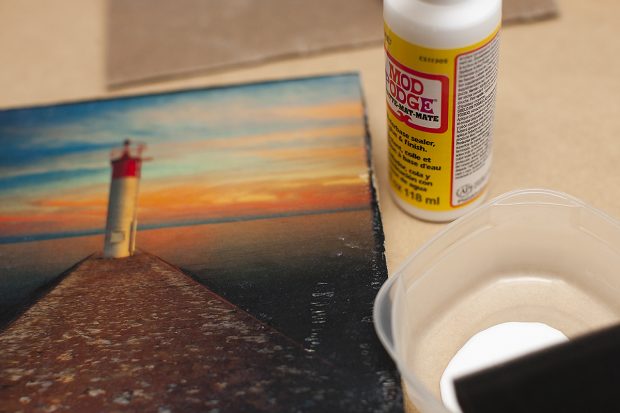
Your wood photo printing is almost complete. The last step is to go over the wood with your Mod Podge. For this wood print I’m using Mod Podge in Matte. I’ve used Gloss in the past so I wanted to see the difference. Apply two layers to give the wood a nice finish.
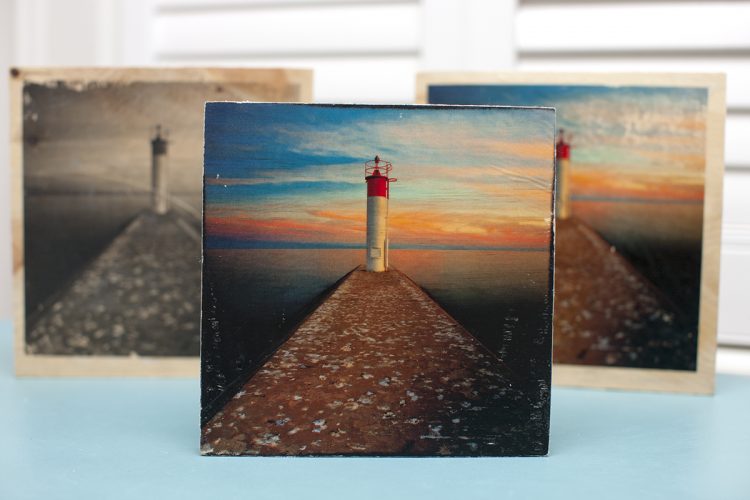
Wood Photo Printing
I enjoyed this project. The final product would make a great addition to my wedding packages or a fun anniversary gift. Try it and let me know how it works for you!